The Grade Center can sometimes be a complicated tool to use in Blackboard simply because there are so many options and settings to choose from! But there are a few things you can do to ensure that you get things set up how you want them and make it easy for both you and your students to track grades as the term progresses.
Here are some of our suggestions for using the Blackboard Grade Center:
Organize Your Columns
As the instructor, you can choose the order in which the columns appear in the Grade Center, ordering them by due date, assignment type, or whatever makes the most sense for your course. This can be a big help if you add new columns, which will appear at the end by default, even though you might want them somewhere else.
Hide Columns You Don’t Need
Seeing extraneous columns in your Grade Center? No need to waste precious time on them–hide them instead! This is also a great time to check to see if there are any columns that are hidden that shouldn’t be and that are impacting your grades.
Select Your Grade Display
How do you want students to see grades in your course: total points, percentages, or a letter grade? Make sure that all of your columns are consistent with how they are displaying this information to prevent student confusion!
You can edit each column’s settings to choose a Primary Display or add a Secondary Display (students cannot see this, it’s only for you). If you plan to display letter grades to students, make sure to edit the default Letter Grade Schema to match your grading scale.
Use the Grade Center Categories
The Grade Center allows you to add a category to each grade you enter in the Grade Center. This allows you to easily organize related assignments and tests and calculate scores of an entire category. By default, College of DuPage courses have the following categories for grade center columns:
- Assignment
- Survey
- Tests
- Discussion
- Blog
- Journal
- Self and Peer
However, you can create and use your own categories as well.
Get Smart (Views)
Smart Views allow you to customize the Blackboard Grade Center based on student enrollment, activity category, and student performance. Creating a Smart View based on student enrollment will allow you to work in the Grade Center without seeing students that have dropped the course. Some Smart Views are available by default, but you can also create your own.
Check for Accuracy
It’s always a good idea to ensure that your grades are accurate, as sometimes things can get entirely incorrectly, aren’t calculating as you might expect, or are being influenced by a rogue hidden column! You can avoid any miscalculations by using both Primary and Secondary Displays (total point and percentage, for example) and matching things up with your syllabus’ total points possible and/or by using Student Preview Mode to to confirm grade accuracy and ensure things are looking good on the student end.
Let Students See Their Grades
You can (and should!) create a My Grades tool link so that students can easily access all their grades-related information.
Give Students Feedback
A grade alone isn’t always enough to let students know how they’re doing in your course. You can add feedback to any grade you put in the Grade Center by using the Quick Comment tool or the Feedback to Learner textbox when grading. This allows you to give students additional feedback or to clarify why they received a particular score.
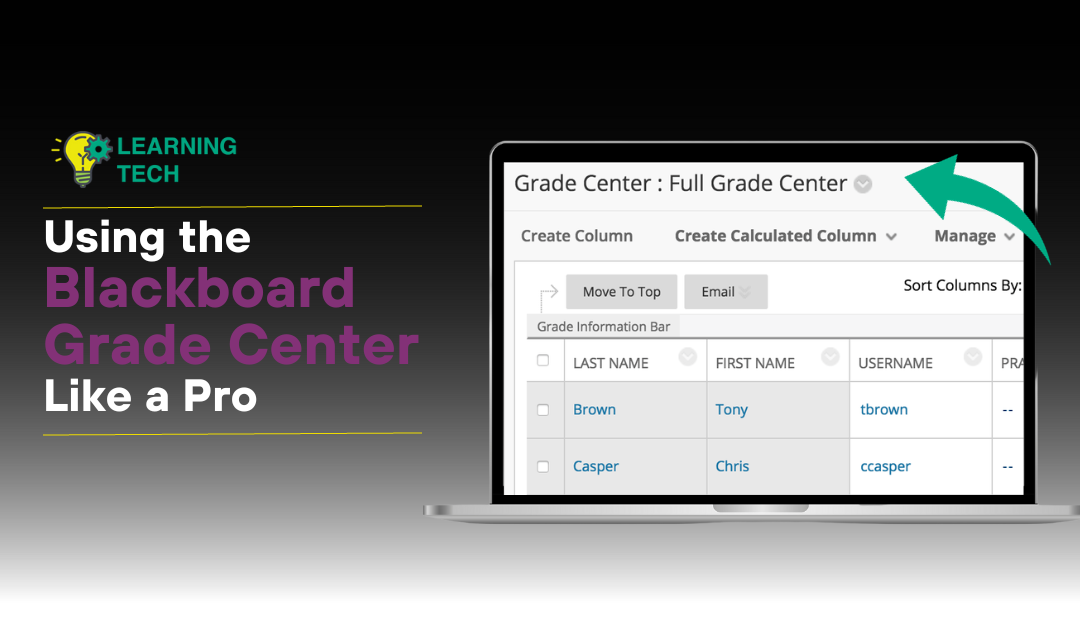
Get the Full View
When you go into the Full Grade Center, you may not be able to see all of your column titles and the scrollbar at the same time if you’re using Blackboard on a smaller screen. You can fix this two ways. First, go to the lower right of the grade center and click “Edit Rows Displayed” and change it to six instead of the default 10. Or, you can enter Full Screen Mode, as explained in the article below.
Back It Up
Both before you make any big changes to your Grade Center and at the end of the term it’s a good idea to back up your grades. This can prevent a whole lot of headaches, so while its an extra step, it’s a really smart one to make a habit of following.
Let There Be Color!
You can color code your Grade Center so that when student grades meet certain criteria (set by you) grade cells display with a different background or text color. This can be an easy way to quickly identify which students in your courses are struggling and might need extra support.
Have more Grade Center tips? Share them with us!
