
Tests and assignments are features that all of us use in one form or another. Ultra gives a lot of options that I am still working my way through but I think I have a good handle on the basics, so I get to make it look like I know what I’m doing. But I will show also you guys some stuff that has me scratching my head a bit.
In this post, I’ll deal with tests.
From what I can tell, there are three basic ways to create tests in Ultra:
- from scratch: you write your own questions;
- from a question bank you get from a publisher;
- using AI to auto-generate questions based on Ultra document content.
Let’s start with creating a test or quiz from scratch where you create your questions yourselves.
By now, you know, it all starts with the + button and the create menu.
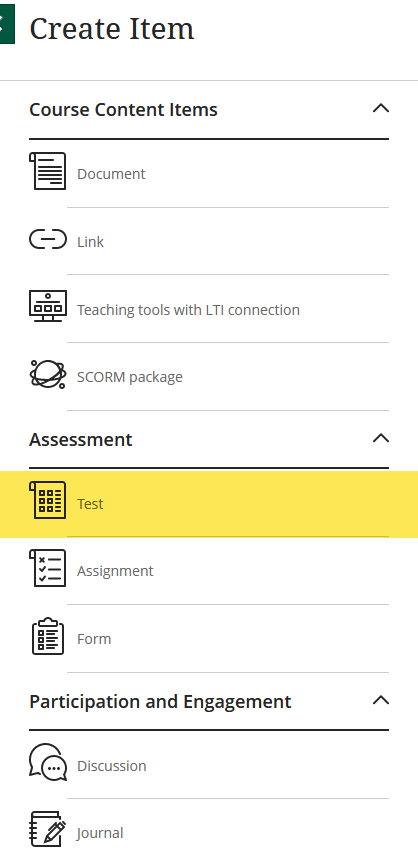
This will take you to a page that looks very similar to the one to create content, which seems to be the point of Ultra, to give everything a homogeneous look.
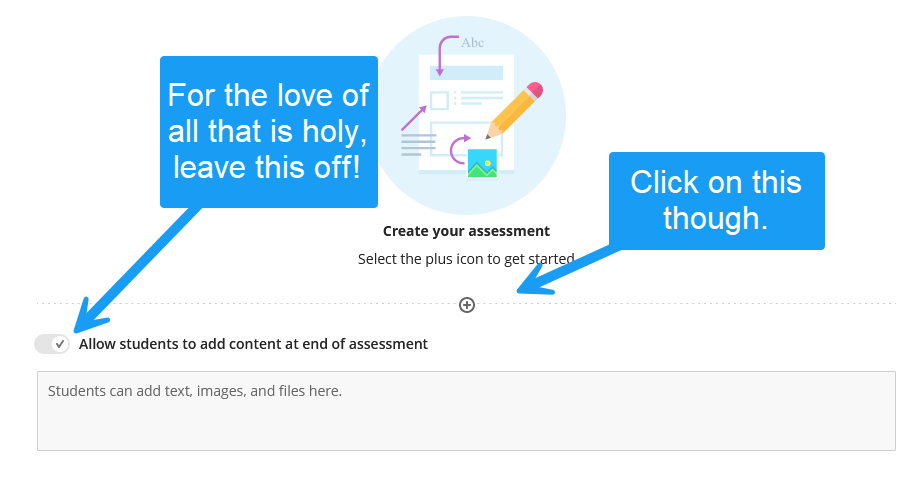
Honestly, whoever came up with the option to let students add content at the end of a test or assignment needs to be dragged in public and be thoroughly shamed. (It’s snark, don’t @ me)
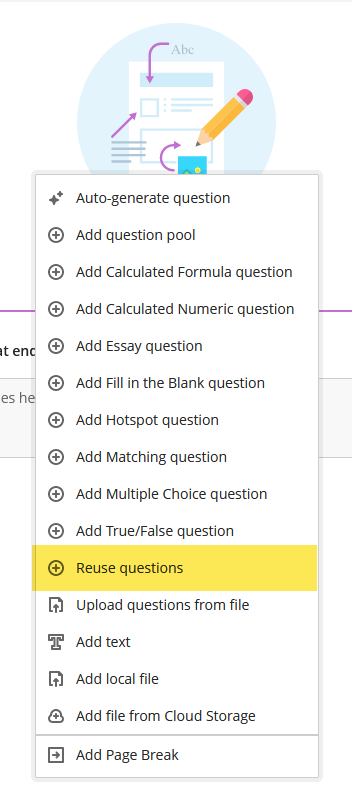
The + button will pop up your question options. And yes, a few options have disappeared from the original course view (can you spot ’em?) but you still have a lot of options to choose from. I mean…
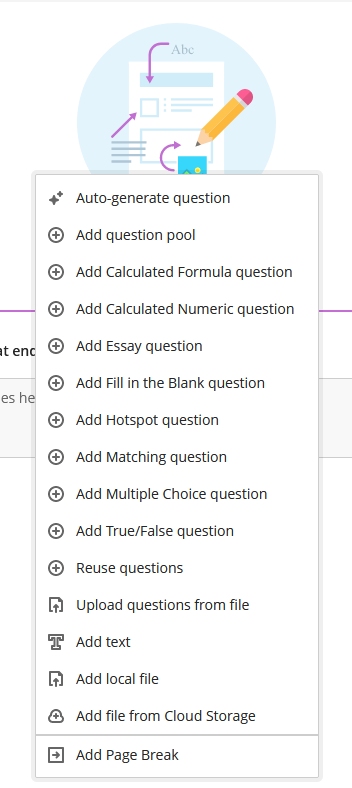
You then just click on the type of questions you want to use, say, multiple choice, and a new page will open with the questions settings by type.

All these options are pretty much as they are in the original course view. It just all looks nicer. Once you’re done setting up this question. You would just click on the + button again and move on to the next questions, until you’ve created your entire test or quiz. Like all new items, its visibility is off by default.
That’s easy enough but I don’t like to do extra work when I don’t have to. So, when I want to create “dumb” tests (dumb because their only purpose is really to get students to read the textbook, for instance), I don’t want to spend time crafting questions. I’d rather use a ready-made test bank, which is the only publisher feature I ever use.
Using test banks in Ultra is also pretty straightforward. Generally, computerized test banks are packages that are LMS-specific. They often come in the form of a zip file but their actual file format vary. In Ultra, uploading and managing test banks is done from the main page, left sidebar, under Details & Actions:
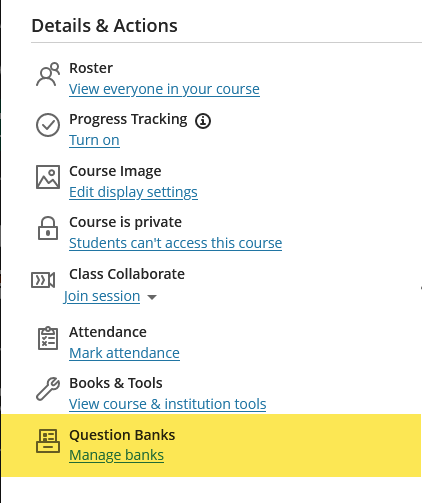
Click on manage banks to upload a new test bank, using the ubiquitous + sign.
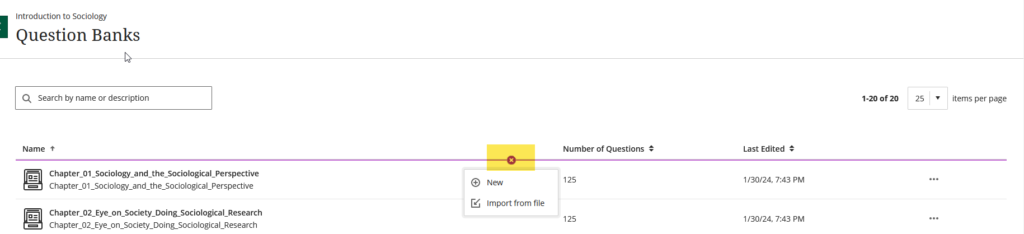
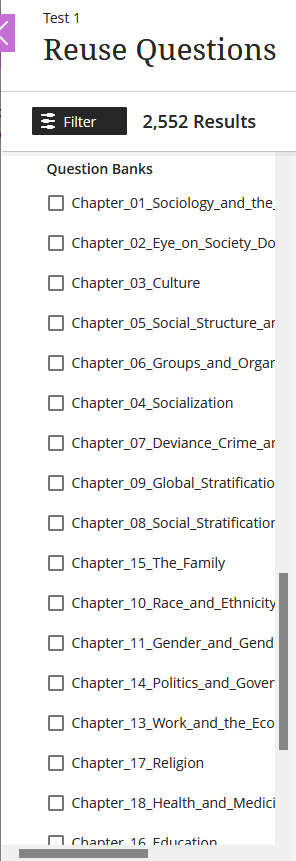
Importing from file open the file explorer on your computer. Find your test bank and upload it. Once you see it on this page, it’s ready for use in a test, using the Reuse questions option.
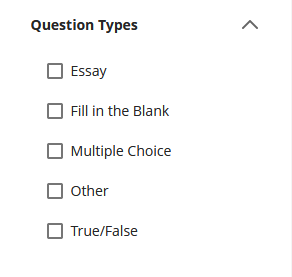
Then, it’s pretty much as it is now. You’ll be prompted to choose how many questions and of what types to include.
And so you get to that point, and everything is so nice and easy but then, of course, you have to get the test settings the way you want them. This is where things get “funny”.
It starts easy:
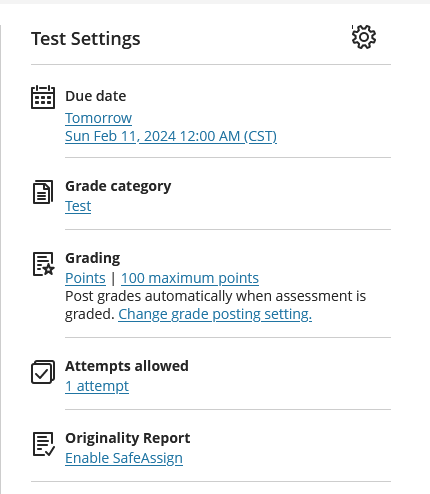
No surprises there. You can see that these settings are all links. If you click on any specific item, you’ll navigate directly to the setting area that deals with that item. Or you can click on the gear to take a look at all the settings available.
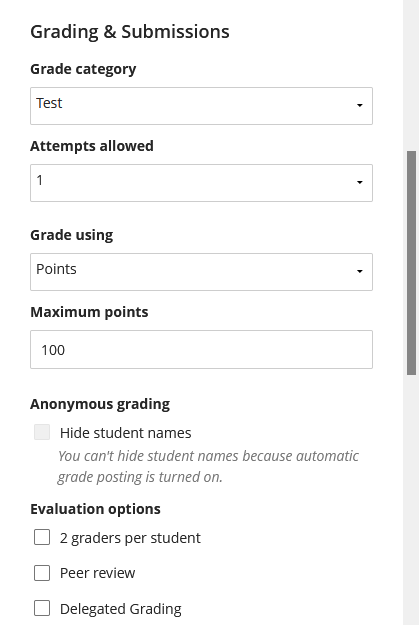
For instance, you will need to scroll down to Grading and Submission to set the category or the number of attempts you will allow:
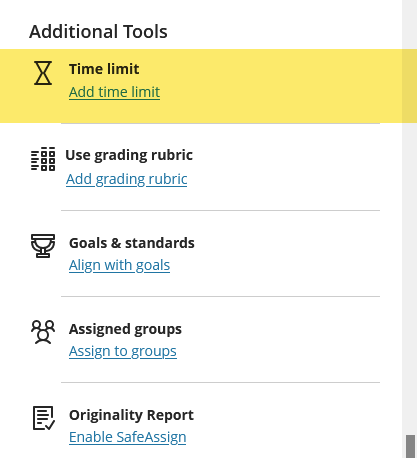
Or scroll down further to Additional Tools if you want to apply a timer to your test:
Once you get to these settings below, that’s when my brain goes poof the way of that dude’s head in David Cronenberg’s Scanners:
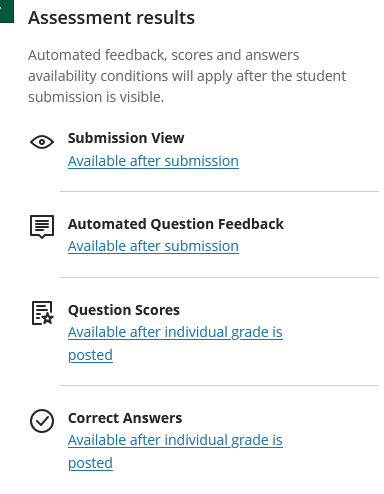
That is because, for all these items, you are offered a bunch of options that, to me, are not super clear in what they do and what they will show to the students. For instance, this:
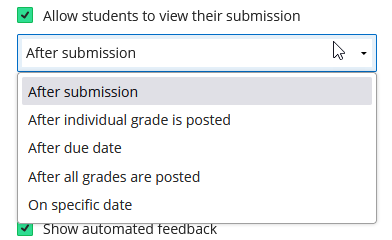
I pretty much set those settings in a way that seem to make sense to me. If students show up at my office door with torches and pitchforks, I’ll reexamine that.
It also started to make a touch more sense when I actually started grading submissions and realized that, by default, the grades don’t get posted even if you actually typed them in the grade box. Here too, Ultra makes you take a extra step either to post the individual grade, or to hold off and post all the grades at the same time. I’ll have a post about grading and the gradebook later. But anyway, as I set this up before there were any students in the course, it was a tad confusing.

I saved the more original for last.
Say, I want my students to read an article before they come to class. I want to create a short quiz based on the article, just to make sure they read it. Of course, I can create the quiz from scratch but I know I’m going to overthink it and spend way too much time on it. Well, Ultra can generate a quiz for me using AI.
I know, I know. Don’t @ me on that either. And also, when it comes to AI, I tend to be like this guy:

But let’s look at how Ultra does it, just for the heck of it. So, I have created a document with just a link to the article:
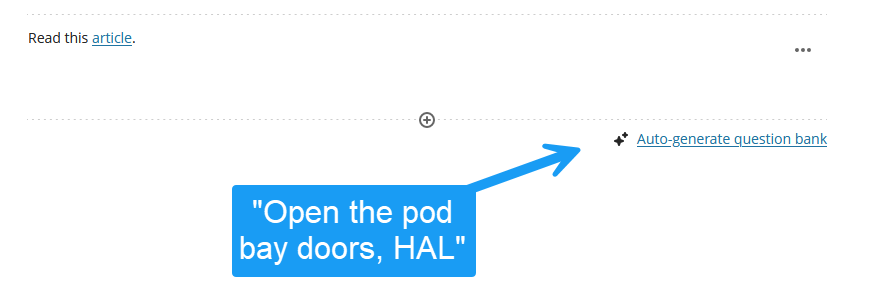
When you click on the Auto-generate link, and assuming the world does not automatically collapse after you do, you will get to a settings panel:
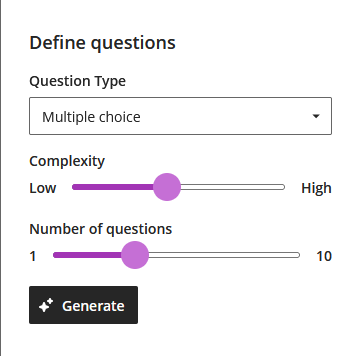
As you can see, you can set the type of questions you want (you can also let Skynet the AI choose under the “Inspire me!” option). You can also set the number of questions and their difficulty level. Once you’re happy, click Generate.
And you get this:
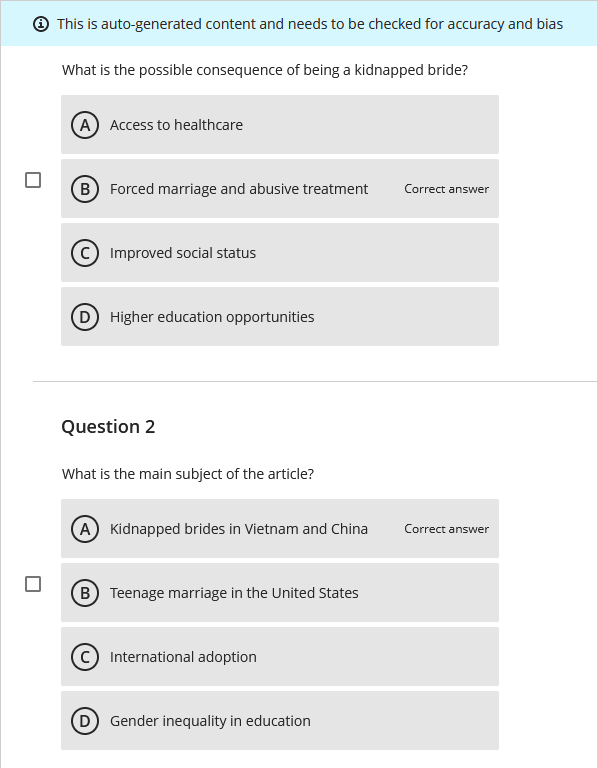
Check the questions you want to retain and Ultron Ultra will create a new question bank with them that you can then use in a quiz. Which is actually cool.
From my limited use, that feature seems to work best with text, either typed directly into the document or links. Gort The AI does not seem to like videos or attached documents.
Anyhoo, that’s an option.
That pretty much covers it for tests in Ultra.
